5 Common Mistakes to avoid when Drawing

When we start out learning something new, our progress often doesn’t follow a steady incline, but instead can feel more like climbing a mountain, sometimes making great improvement, while other times we feel like we plateau. At times like this, we may have become bound by our errors, not knowing how to find a way out.
Here are 5 common mistakes people make when learning to draw and how to correct them.
1. Looking at your drawing more than the subject.
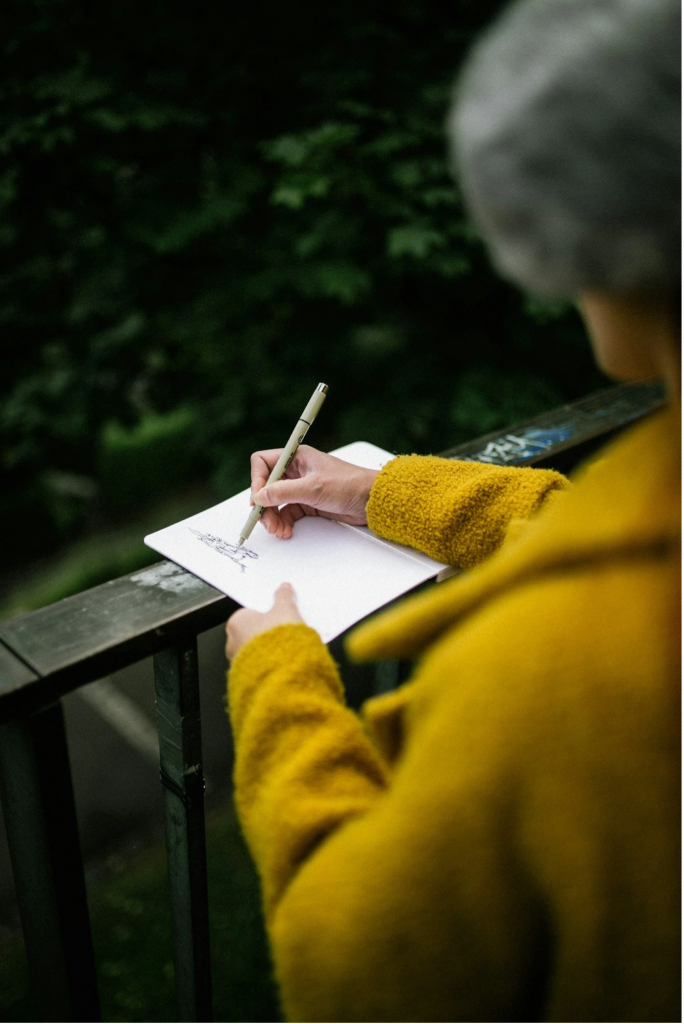
In order to draw recognisable representations of your subject, you must really learn to look . Obvious right? But everyone when starting out tends to look a lot at their own paper, rather than the actual thing they are drawing. For this reason, we need to train ourselves to look much more at the subject. One exercise that can help is to try a 5 minute sketch, by only looking at the subject, not your paper at all! It’s scary and the results will be wobbly to say the least, but it warms you up to really see in detail the object that is before you. Observation is key!
2. Holding pencil too tight

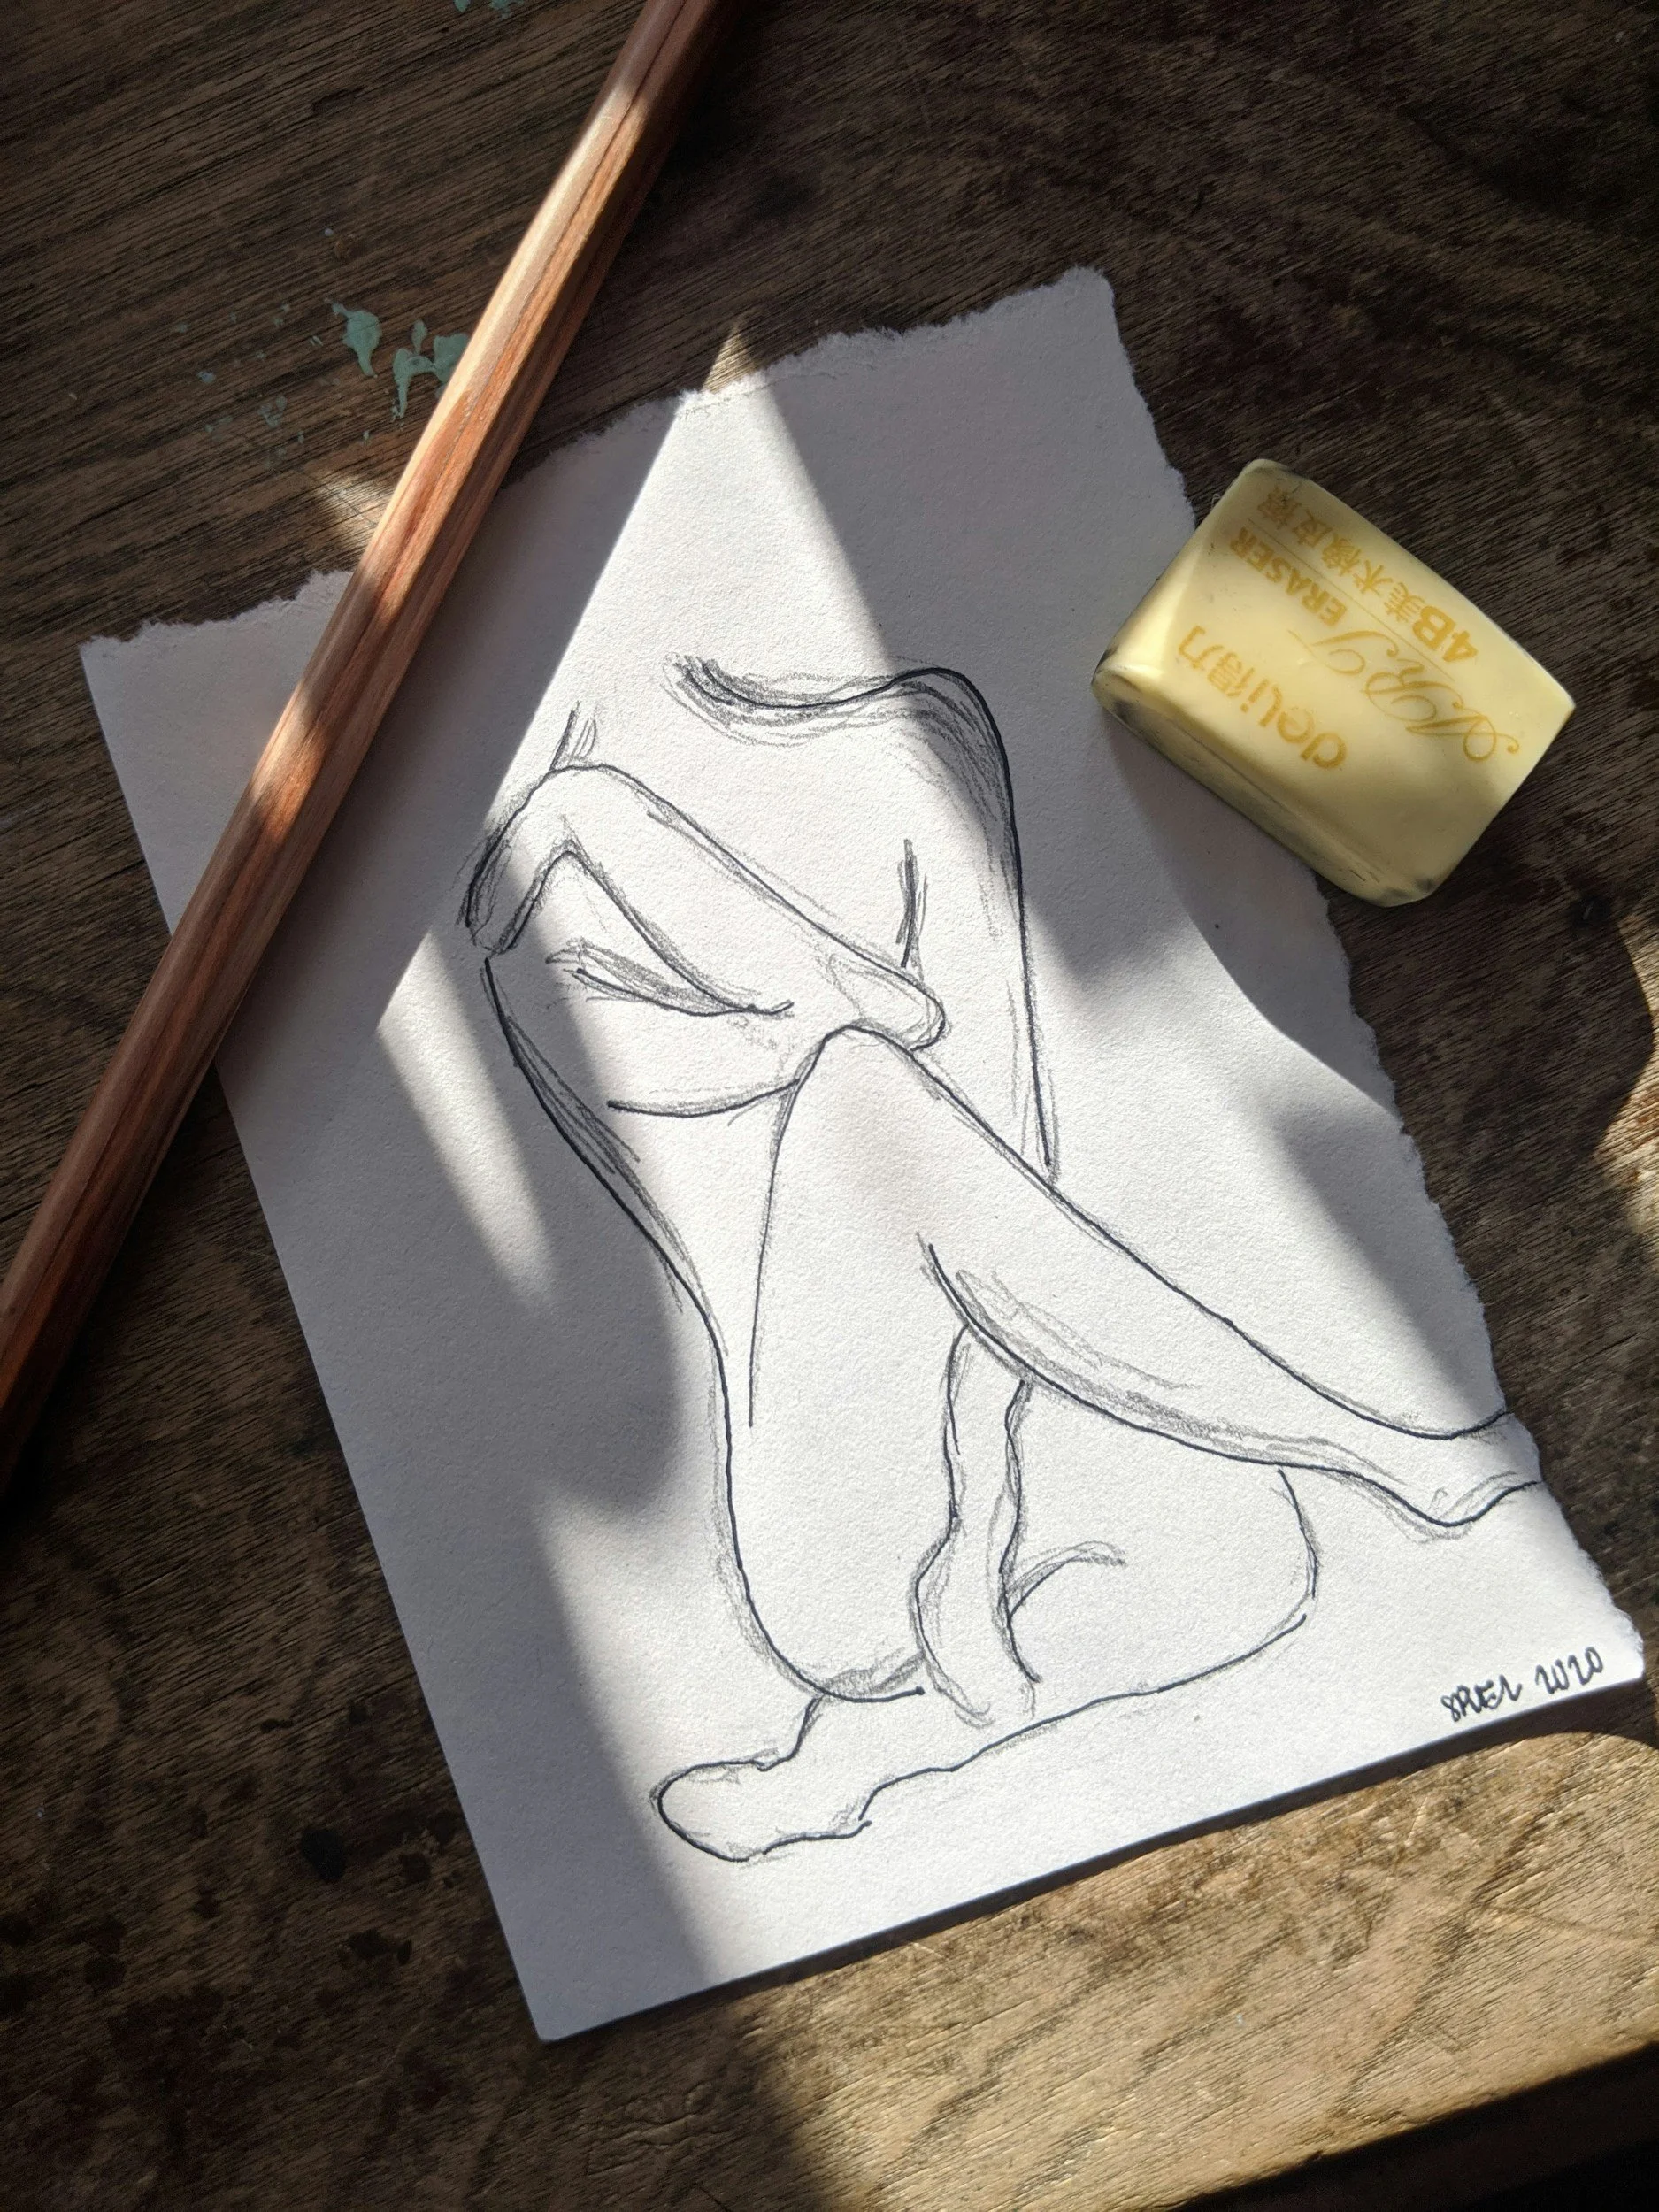
3. Leaning too heavily for initial sketches

4. Too many details, too quickly
5. Compare and despair!
If only I could wave a magic wand over many of my students (and myself) to free them from this bind! Comparing your work to others in a negative sense is so demoralising. Yes, others will have more experience than you. Yes, theirs may look different. But please remember that you are on your own journey of development. The only person you should compare yourself to is you! Of course, it can help to learn from others and seek their advice in order to improve your own work, but please don’t despair.
When you see another artist’s work you feel is ‘better’ than yours, why not first think of 3 successful points about your own. Then pick 2 things that the other person has done well (perhaps you like the way they blended an area, or used some interesting marks). You can jot them down as notes that you will consider in your next drawing. And then congratulate yourself as you have just learned something and made another couple of steps up that mountain.
Remember, you’re not climbing alone, and don’t forget to stop and enjoy the view!